Home
Make your way to https://make.preview.powerapps.com/
Create your App (Optional at this stage, you’ll have another opportunity to do this later)
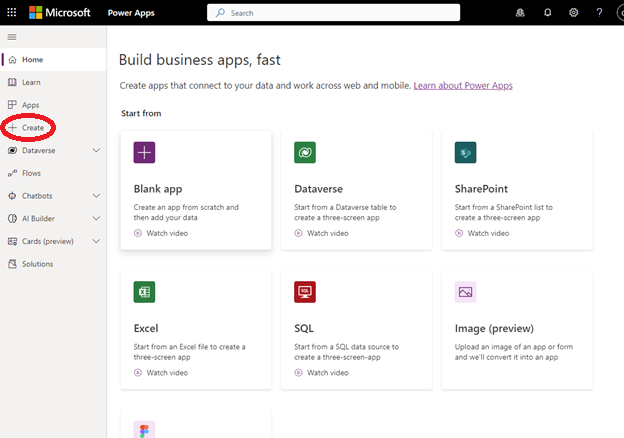
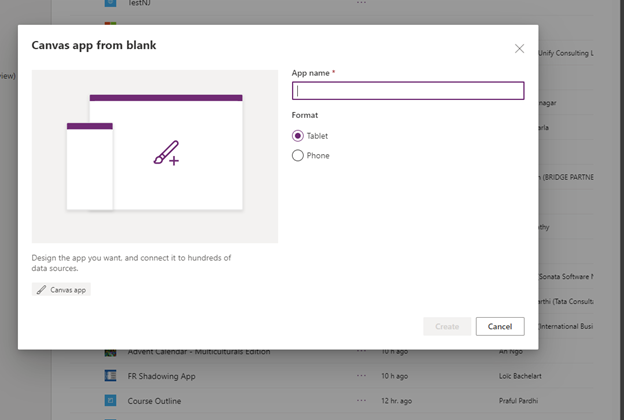
Create and name your canvas application
If you did not begin with creating an app, you can start here. Make your way to https://make.preview.powerapps.com/
Click the 9 dots in the form of a box at the upper left corner of the screen
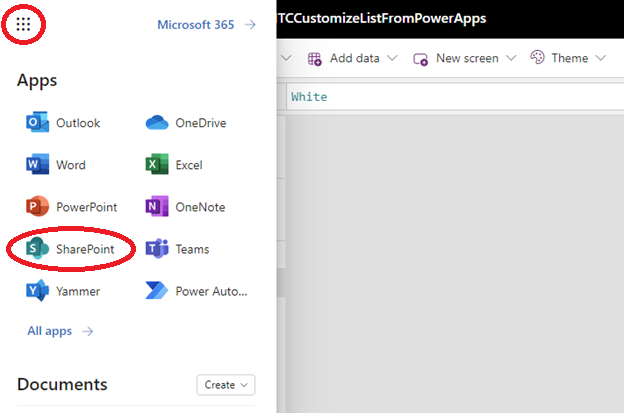
Select SharePoint, and select create
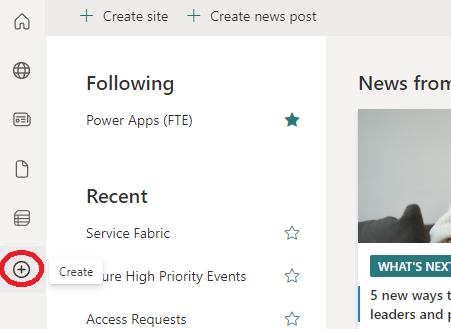
Next, select lists
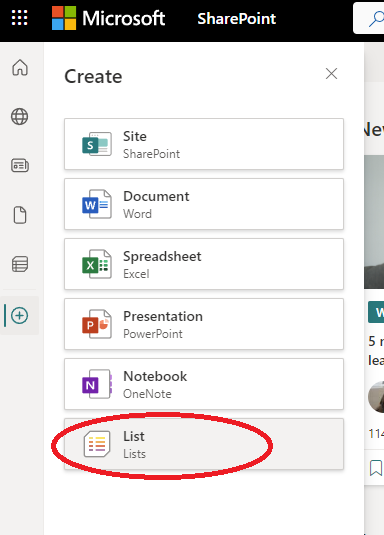
From here, you can create your list
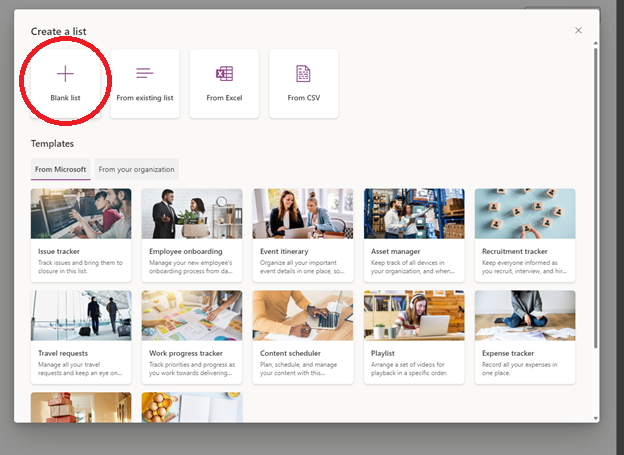
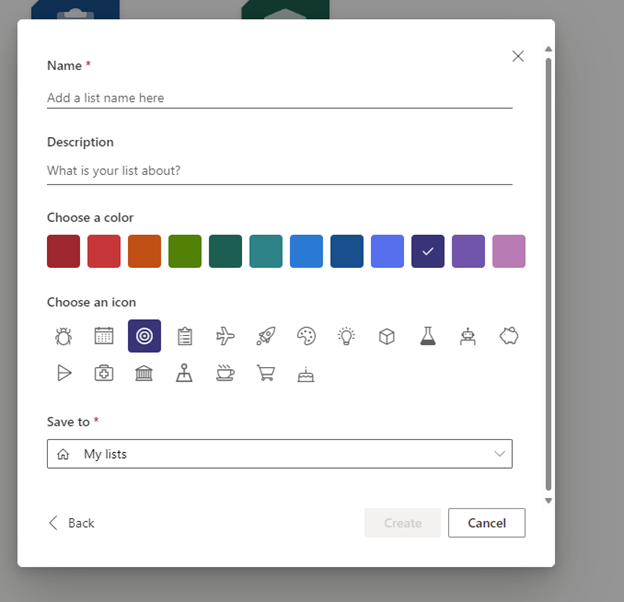
Once you’ve selected blank list, you can name your list and select where to save it to.
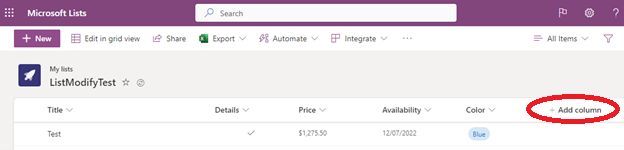
Now that you have your list, you can add columns that fit your requirements. For this example, we’ve created the following columns: Details – Data Type is Yes or No Price – Data Type is Numbers -> Currency Availability – Data type is Date without Time Color – Data type is allowing you to select one of three premade options
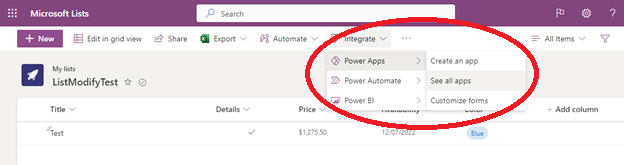
Next, we can integrate this into the app we’ve already created, or you can create an app from here.
*Note that it may take a few moments for previously created PowerApps to appear
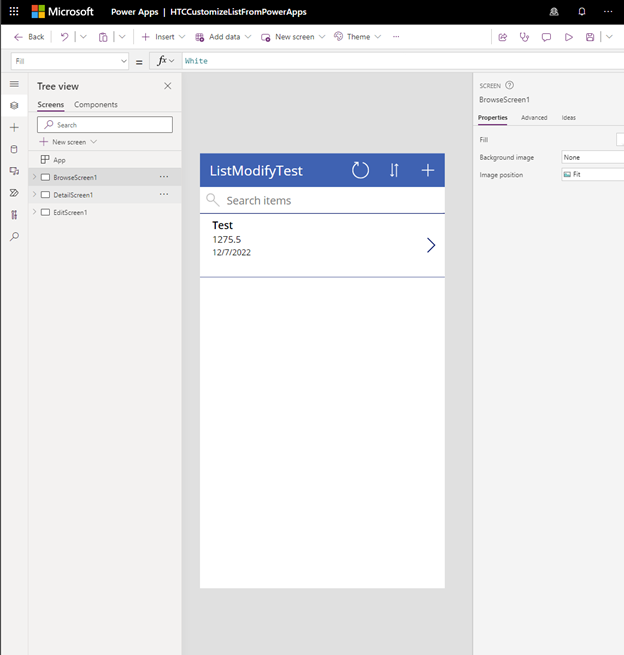
If you followed along, your PowerApps application should look something like this:
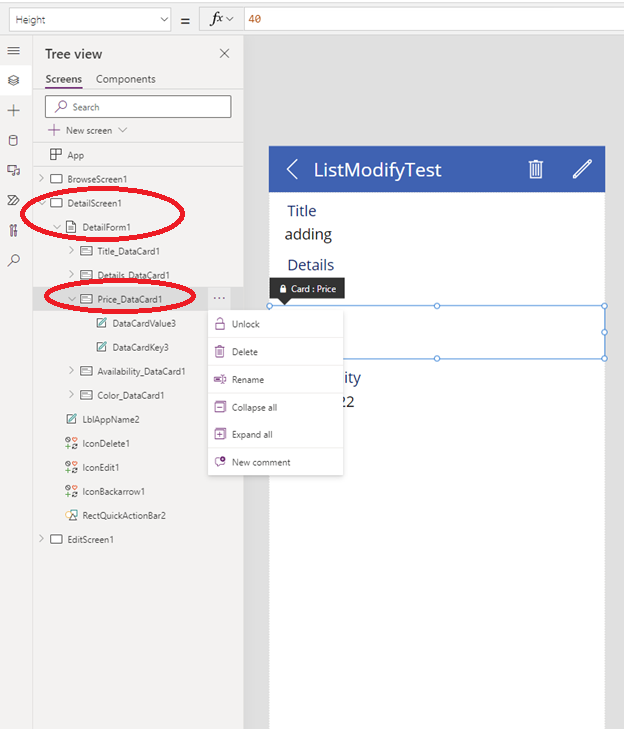
To make a change to the columns aka fields, (details, availability, price ect.) open the tree view tab -> detailScreen1 -> DetailForm1 -> select the specific column. From this menu you can rename and remove
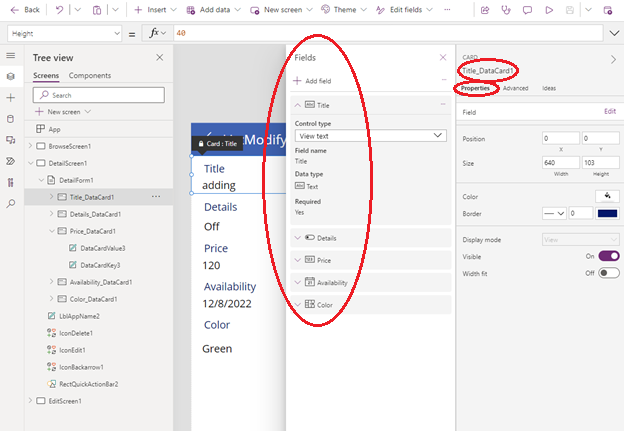
You can also add fields or view their properties by accessing the field tab on the right side once you’ve selected a field.
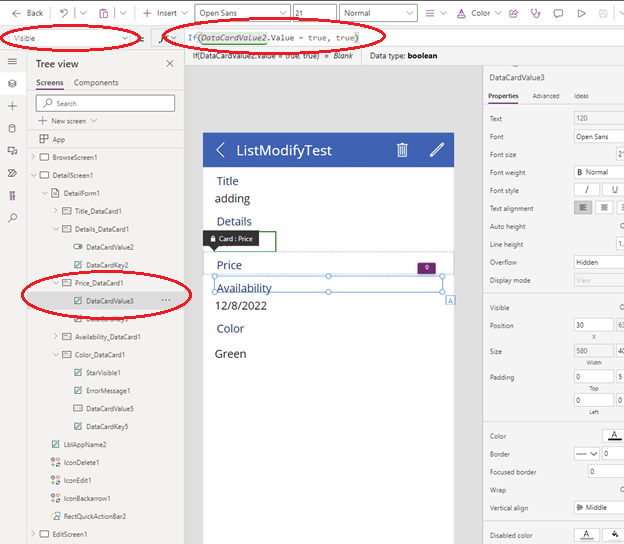
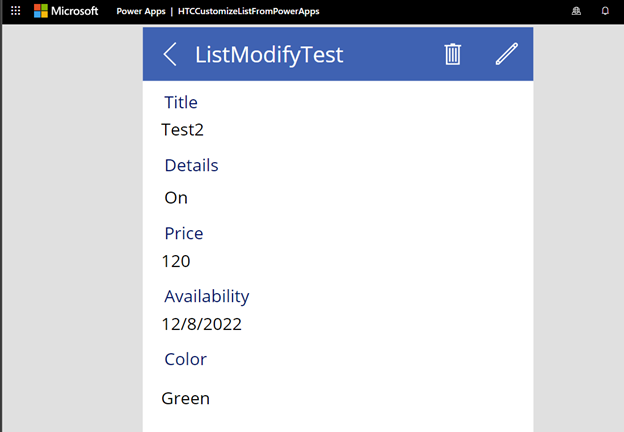
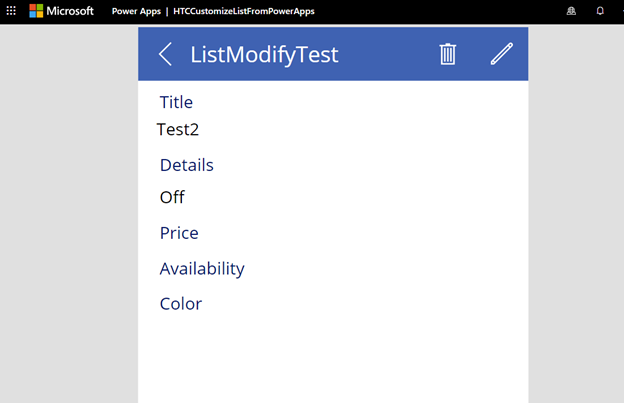
Here is an example of setting a conditional value. Here, we are going to only allow price, availability and color to be seen if the details choice “yes” has been selected. First, navigate to DetailScreen1 -> DetailForm1 -> Price_DataCard1 -> DataCardValue3. *note this may be slightly different depending on the order in which you added your columns(fields).
Once you’ve selected DataCardValue3, click the dropdown box at the top left and select visible. Once you’ve done that, enter in the formula: If(DataCardValue2.Value = true, true). Repeat this step for Availability and Color.
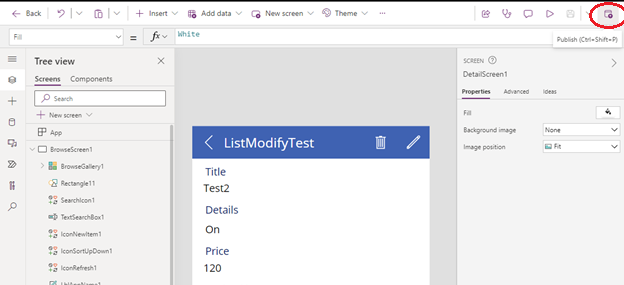
To save and publish, click save at the upper right corner. Then select publish
Confirm that all details function the way you’ve intended them to and then select publish this version

From your list in SharePoint, open the settings page (by selecting the gear icon near the upper-right corner), and then select List Settings.
Under General Settings, select Form Settings.
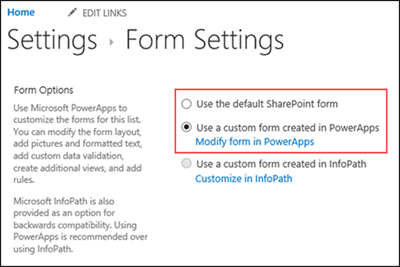
On the Form Settings page, select one of these options, and then select okay.
- Use the default SharePoint form - When a user opens your list and selects New in the command bar, the default form for the list will appear.
- Use a custom form created in PowerApps - When a user opens your list and selects new in the command bar, your custom form will appear. (As an alternative, you can publish the form again in PowerApps.)
You can toggle back and forth between options, as needed.
From your list in SharePoint, open the settings page (by selecting the gear icon near the upper-right corner), and then select List Settings.
Under General Settings, select Form Settings.
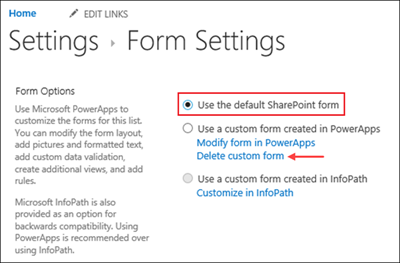
On the Form Settings page, select Use the default SharePoint form, and then select delete custom form.
Forms vs. apps Q: How does a customized form differ from a standalone app that I create from SharePoint or Power Apps?
A: If you customize the form for a list, the form doesn't appear as an app in Power Apps Studio or Power Apps Mobile. You can open the form only from the list for which you created it.
Q: When should I customize a form to manage data in a list, and when should I create a standalone app?
A: Customize a form if you want your users to manage data without leaving SharePoint (for example, in a desktop browser). Create an app if you want your users to manage data outside of SharePoint (for example, on a mobile device).
Q: Can I customize a form and create an app for the same list?
A: Yes.
Q: Can I customize a list and create an app using the same features?
A: Yes.
Q: Can I customize a form in an environment other than the default environment in my organization?
A: No.